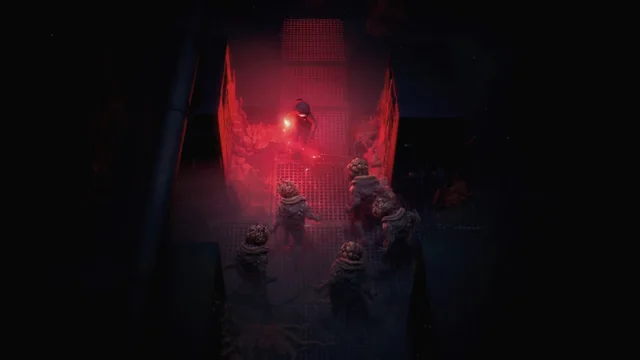
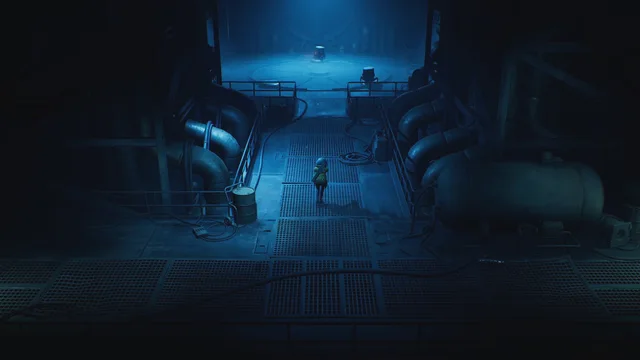
The Grappling Hook is in the Containment Sector, past the second Safe Room. Leave by the left door, clear the Corroder, follow the radiated path right, then drop through the broken floor to trigger a fight with Spitters, Husks and a Corroder. Once it ends, the hook is in the room through the door on the right. It pulls you across gaps via anchor points, which usually stay inactive until you pull a nearby lever or use a panel, and it also pulls down ladders, distant levers and Glowticks.

Grappling Hook location, step by step
You cannot reach it early. It comes in the last SCU area, after you have the Radiation Protection Mod. See Part 5 of the walkthrough for the full route.
- Reach the second Safe Room in the Containment Sector (down the elevator, past the Glowtick room and through the hole in the wall).
- Exit through the left door, go down the steps and kill the Corroder.
- Take the radiated path to the right and the door at the top of the stairs.
- Kill the Latcher and the Spitter, go up the stairs and through the next door.
- Jump down through the broken floor. A combat gauntlet starts: Spitters, Husks and a Corroder.
- When it ends, go through the door on the right. The Grappling Hook is in this room.
What anchor points are and how to activate them
Anchor points are grapple targets that pull Cel across gaps. Most of them start inactive. If an anchor point does nothing, look for a lever or panel nearby; the Scanner will tag it.
| Where | How to switch it on |
|---|---|
| Control room next to the hook room | Go through the right door (Containment Service Key side), up the stairs, and pull the lever. Two anchor points activate. |
| Room where you met the first Spitter | Use the bottom-left anchor point to reach the Containment Sector Map Data terminal. |
| After the Armored Mass bridge fight | Kill the Corroder at the top of the stairs and use the panel just past it. |
| Overlook above the bridge room | Go through the hole in the right wall and use the panel to activate the anchor points below. |
Everything else the hook does
- Pulls down extendable ladders that you could not reach before.
- Pulls distant levers, for example to extend a bridge across a gap in the lower Containment Sector.
- Strips Glowticks off the [Radiation Host](/guides/radiation-host), which is the key to that boss fight.
- Opens backtracking routes: the optional bosses, the Support Gun in Maintenance (Factory West) and four of the eight Data Shards all need it.
Where to go back with the Grappling Hook
| Area | What you can now reach | Also needs |
|---|---|---|
| Factory West F1, Maintenance | Route to the Support Gun | — |
| Ventilation Tunnels | Brood Keeper (optional boss) and a Data Shard | Explosive Charge, Ventilation Maintenance Key |
| Reactor B5 | Severed Husk Centipede (optional boss) | Explosive Charge, drained reactor |
| Factory West boardroom | Data Shard | Explosive Charge, Executive Level Access Keycard |
| Reactor B1 | Data Shard | Underbelly Keycard |
| Containment Sector F3 | Data Shard | Explosive Charge, Storage Room Key |
The Data Shards lead to the secret ending. For weapons, see weapon locations.
Frequently asked questions
When do you get the Grappling Hook?
In the Containment Sector, the third and last SCU area, which is roughly two-thirds of the way through the game.
Why won't the anchor point work?
It is probably inactive. Find the lever or panel that powers it, usually up a nearby staircase or across the room.
Is the Grappling Hook missable?
No. It is on the main route to the Radiation Host and the third SCU.
This page only uses details from official store pages, developer statements and hands-on press previews. Anything unconfirmed before the October 1, 2026 launch is left out and will be added once verified. Last research pass: October 9, 2026.
Sources
References and further reading for this article.